Pages - Menu

Thursday, January 31, 2013

Splatter Paint

Splatter paint is fun,however it can be very messy.This is my first time trying splatter paint.
  1. First choose your colors.I chose 7 bright colors.
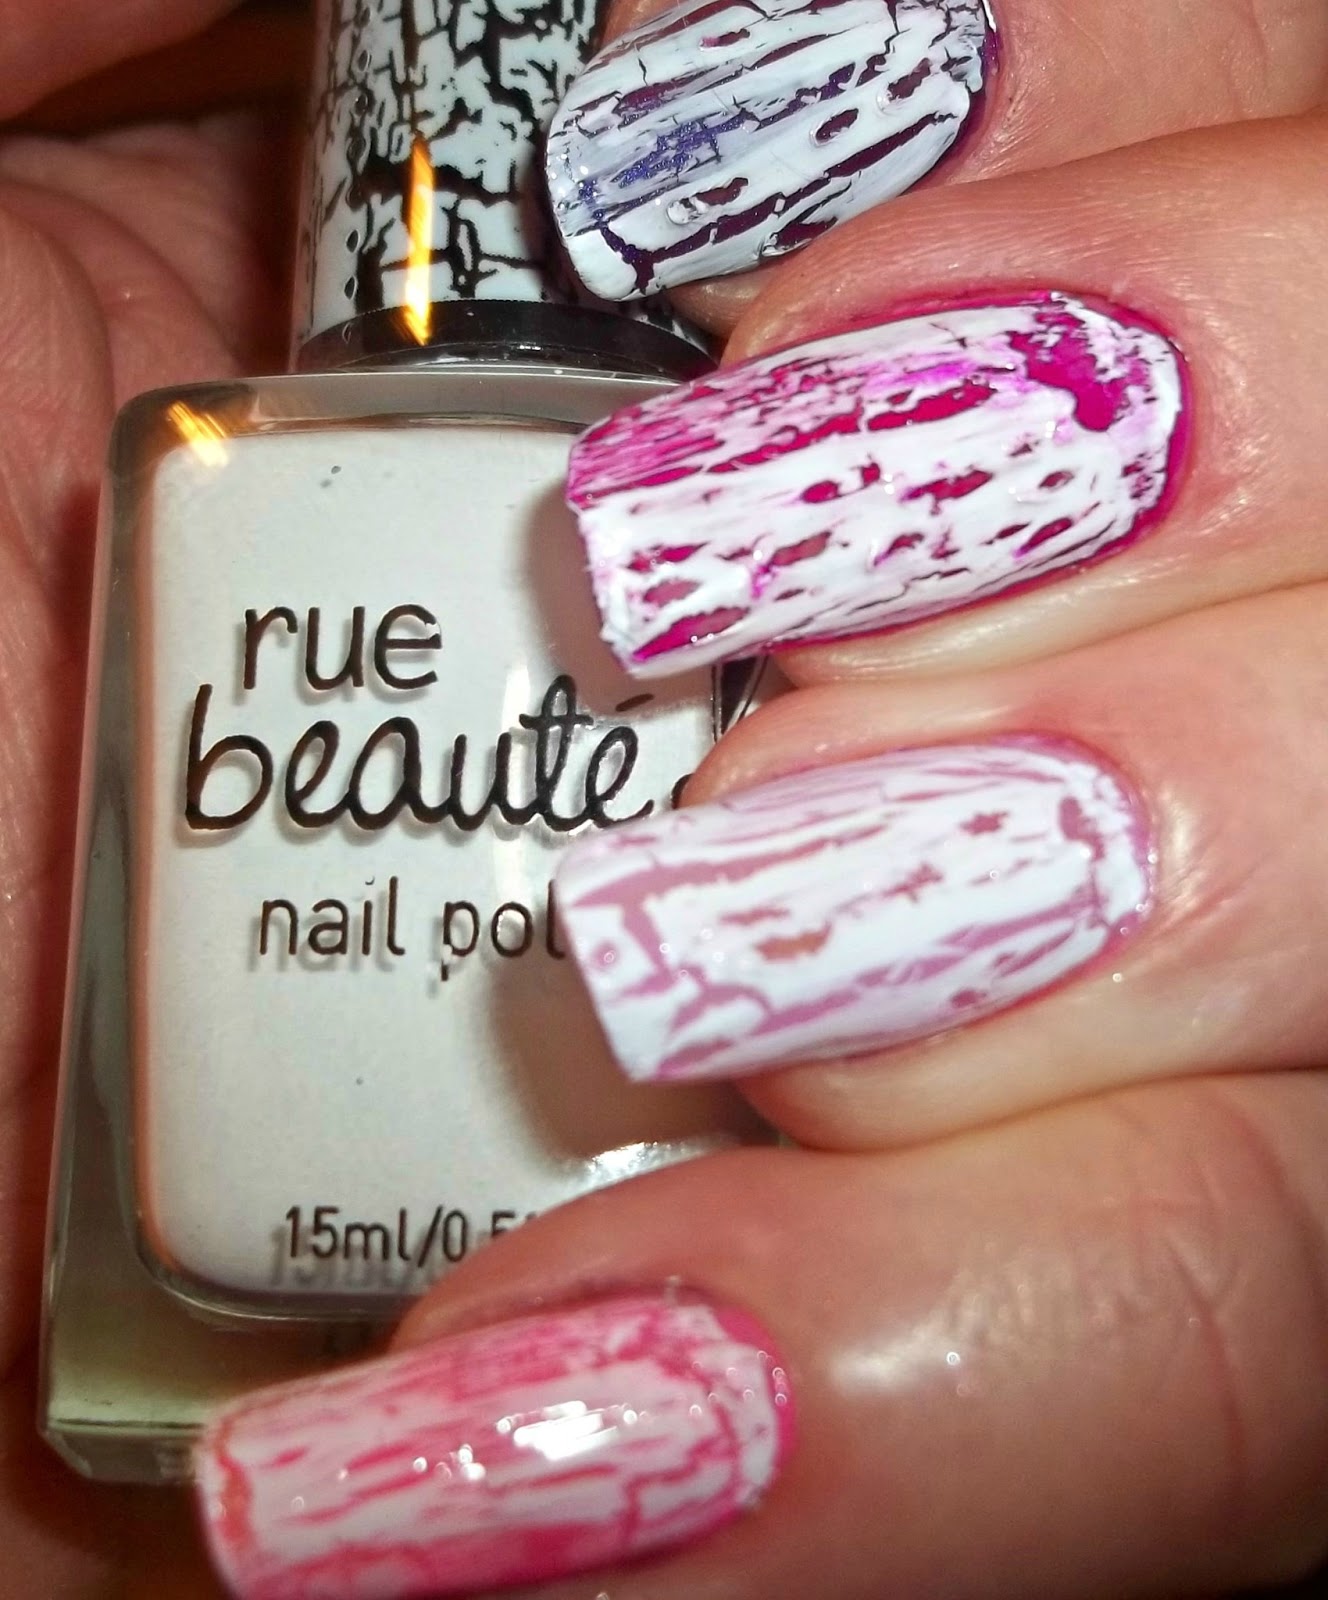
  2. Then choose a light base such as white.
  3. Then put a couple drops of polish into a paint tray.I did one color at a time till I got the nack of it.
  4. Then pour a drop or two of polish remover into polish,and stir until the right consistency.You'll want it to be runny and not thick,but still have some color to it.
  5. Then take a small brush and dip into the polish and splatter onto the nails.I would suggest taping around your nails,otherwise it will be all over your cuticles like mine was.
  6. For easy cleanup around your nails use your nail polish remover pen.Then apply a clear coat.Viola ♥


I love You Nails

Start off with your base colors.I chose red,neutral beige,white & clear.You'll also need 2 small nail brushes.
Paint on your base coats.
Then free hand if you can your letters and a 1/2 of your lips on your index finger.
 Then paint the other half of the lips on your thumb.Viola "I love you" nails


How to Create V's on Your Nails

  1. First pick your choice of colors.I chose Milani "Mint Candy" & NYC "Classic Coral"
  2. Then take a small piece of tape and make a V on the tip of every nail.
  3. Then apply whatever color you'd like to each finger.Then remove the tape.
  4. Then carefully use a small nail brush or the polish brush to fill in the V area with the other color.Viola ♥


Wednesday, January 30, 2013

How to make hearts

I always wondered how to create hearts on your nails.Try using your dotting tool or a small nail brush.As you can see mine are not perfect,some turned out better than others,however if you can make 2 dots on your nails next to each other your good to go.Then connect and pull down the polish to create a heart.Plus it doesn't hurt to have a steady hand.I would suggest practicing on paper first.Viola hearts♥♥


Polka Dots on Pink

  • Start with your choice of a base color,I chose pink
  • Then choose a shade darker for your tips.
  • Then using your dotting tools you choose what size dots you'd like.I chose a bigger dotting tool so I could place a dot inside of another dot.
  • Alternate dotting colors
  • Viola your done


Tuesday, January 29, 2013

One Coat Glitter

I love Milani one coat glitter "Silver Dazzle"I'm not too sure if it covered in one coat,however I still love it.The glitter in it is very dense and has a sandy feeling on your nails when dry.Love!


Glistening Glitter

I love this glitter nail enamel from NYC "Starry Silver Glitter".I applied 3 coats and it has a shimmery,gold-ish,silvery color base to it which I love.


Tipped &Tiger Stripes

Here's another great shade from Milani nail lacquer "Tip Toe Pink"


Monday, January 28, 2013

Nail Design with a Baggie

I came across this cool nail idea on Pinterest & FB using a baggie and crackle polish.

First you take a baggie and apply any color you'd like and let it dry completely.

Then apply your crackle polish over your polish.White is the only color I have,however you can apply any color you'd like.Let it dry completely till it cracks.I also applied the crackle alone (right) however it did not crack without a polish underneath.


 Then cut the colors apart.


Then fold in half and cut your design out.I chose hearts.


Then apply your polish to your nails,and while wet apply your hearts carefully.Apply folded side down or they will keep popping up.You'll need scissors or a pointed edge to hold the edges down onto the polish.


Then apply a top clear coat to hold down.Viola♥Beautiful !
Milani (Purple Gleam)


Saturday, January 26, 2013

Two-Toned Nails


I love two-toned nails.I used Milani (Mint Candy)L.A.Colors (Bliss)


To create the little eyes or the design seen you'll need a thin brush as shown,and practice on paper till you get the idea.This brush is great for making smaller more detailed lines.
Then I stuck on my nail tape 

Then I applied my Milani ( Mint Candy ) right above where I taped.

Then pull off the tape before it dries.

Then create your eyes or design.

Then fill it in with your base coat.L.A.Colors (Bliss)

Viola♥
Perfect


Friday, January 25, 2013

Snap Crackle Pop

This is actually the first time trying Crackle Polish
I decided to apply a different color to each finger to see what it would look like.
This is the result.
This one is with one color.

I did notice that when you apply a thinner coat (L)the crackles are smaller,and there are quite a bit more,however when applying a thicker coat(R) the cracks are much bigger and not as many cracks.


Pin Stripped & 2 Toned Nails

  1. Start with your base color it doesn't have to be pink.
  2. Get your nail tape out.Any color.
  3. You'll need scissors,tape & polish.
  4. Start by taping your nails off in the center with scotch tape.
  5. Paint over your nail.
  6. Remove your tape,and now your nails are 2 toned.
  7. Start applying your tape like shown or any way you'd like.
  8. Apply your top coat over the tape.
  9. Peel off before it dries very carefully,always removing the top ones first.
  10. Viola your nails are done.


Thursday, January 24, 2013